Event Vendors’ Guide to Transporting Holiday Booth Décor Efficiently
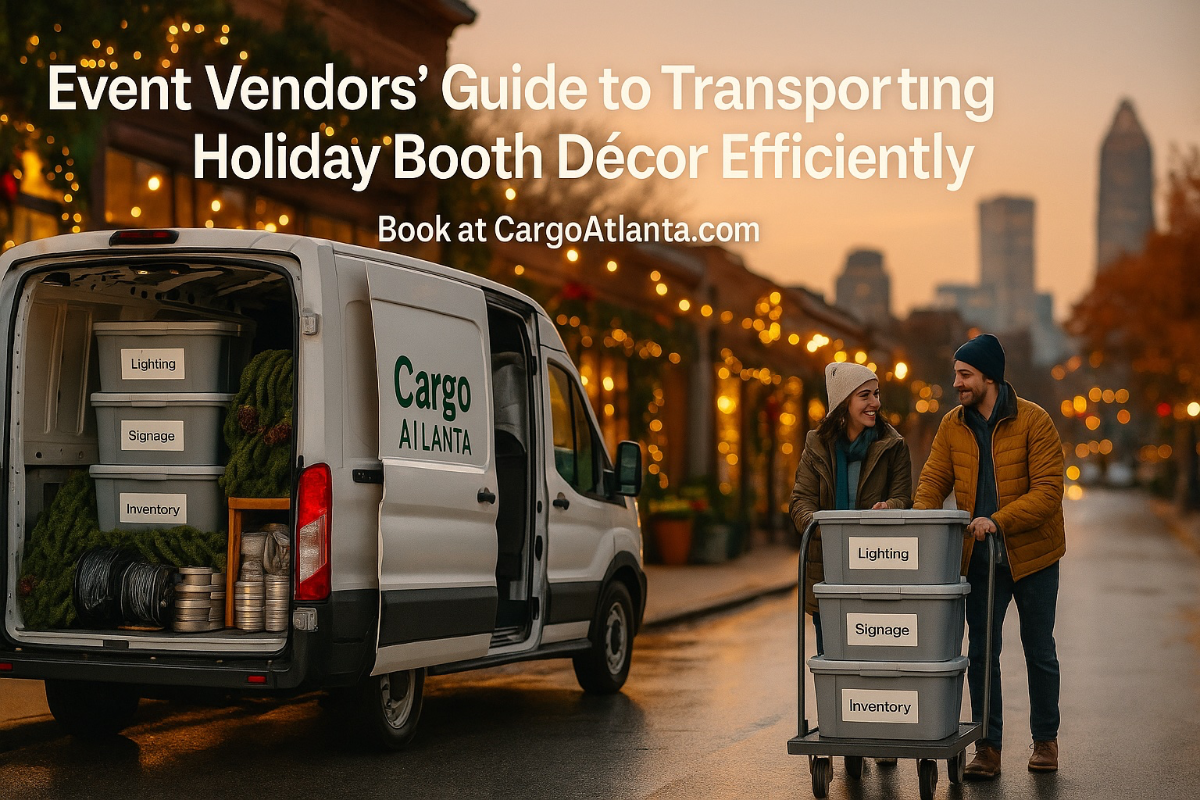
Event Vendors’ Guide to Transporting Holiday Booth Décor Efficiently
TL;DR: Pack in the load-in sequence, strap tall frames upright, rotate two carts for nonstop shuttling, and keep a “first-15 minutes” tote at the door. Arrive early, quick-drop essentials, then park.
The holiday season compresses everything—inventory, timelines, and traffic. For Atlanta pop-up vendors, success often hinges on one thing: how smoothly you move your booth from driveway to festival grounds. This guide is designed for small business owners hauling signage, lighting, displays, tents, props, and seasonal inventory. Use it to reduce damage, shorten setup time, and keep your energy focused where it belongs—on sales and customer experience. New to Atlanta markets? See our holiday event load-in guide for venue timing tips.
🚐 Book a van at CargoAtlanta.com for same-day pickups
1) Build a load-in plan before you pack
Work backward from the first fifteen minutes on-site. What must be accessible the moment you open the doors? For most vendors, the order is: tent & weights → flooring/risers → tables → backdrops/frames → lighting → inventory. Load those items last so they come out first. Print the sequence and tape it inside the van door. Assign roles—one person handles the tent and weights, another tackles electrical and lighting, someone else merchandises. Give each phase a time goal so the team stays paced.
2) Pack to prevent breakage (holiday décor is fragile)
Seasonal décor looks great and travels poorly. Use rigid, lidded totes with dividers for ornaments, letters, acrylics, and small props. Wrap larger signage, faux trees, and framed pieces in moving blankets and secure with stretch wrap. Wind string lights onto wide reels or flat cardboard spools labeled by location—“back wall,” “front canopy,” “checkout vignette.” Add foam corners or pipe insulation to frame edges. Keep garlands and bows on top layers to avoid crushing. A few minutes of proper wrapping saves hours of rework when bulbs break or glitter migrates onto everything.
3) Label like a warehouse
Color-code by function—Red for décor, Blue for lighting, Green for inventory, Yellow for checkout. Add sequence numbers: “Unpack 1 of 6—Tent & Weights,” “Unpack 2 of 6—Tables,” and so on. Tape a small QR code to each tote that links to a living checklist (Google Doc or Airtable view) with counts, missing items, and notes for next time. This eliminates the hunt-and-peck that kills momentum during short load-in windows.
4) Choose the right vehicle—and use it intelligently
For most 10×10 or 10×20 booths, a cargo van balances capacity, weather protection, and curbside access. Low- and mid-roof vans fit tents, tables, and totes; mid- or high-roof vans prevent bending tall backdrops and grid walls. Place frames and grid against the wall and ratchet-strap them upright. Keep the heaviest totes low and toward the front to stabilize handling. Leave a narrow aisle so you can reach the tool kit and checkout tote without unloading the world.
Scenario Van & gear setup Why it works 10×10 booth with standard décor Low/mid-roof van, 2–4 straps, 6 blankets, 2 folding carts Fast curbside unload; weather-safe storage. Tall backdrops & freestanding frames Mid/high-roof van, vertical strap points, floor protectors Prevents bending/scuffing; safer vertical transport. Multiple markets in one day Zone-packed layout, rolling totes, labeled reload stacks Rapid resets; no time lost searching for essentials.
5) Carts, dollies, and tools that earn their keep
Bring a folding platform cart for stacked totes and a hand truck with stair-capable wheels for boxes and tent weights. Pack gaffer tape (not duct tape) to secure cords without residue. Keep a power splitter and a 12–14 gauge, venue-length extension cord with your booth name on the plug. If you’re outdoors, confirm whether stakes are allowed; if not, bring weight bags or water weights that meet venue requirements. A small clamp-light kit doubles as task lighting during a predawn setup.
6) Parking and route strategy for Atlanta venues
Popular holiday sites clog early. Navigate like a courier: pin the official loading zone and a backup lot near your booth line on the venue map. On arrival, do a quick-drop—place tent, weights, tables, and frames at your assigned spot, then move the van immediately if required. Screenshot any digital permits. Keep cash or card handy for pay machines. If rain threatens, line the van with a plastic sheet, keep towels accessible, and bring waterproof bins for the most sensitive items. Wet garlands and soggy signage ruin the aesthetic and delay merchandising.
7) A setup flow that prevents backtracking
Tent & weights: Create shelter first; it becomes your staging zone.
Tables & floor: Add linens and risers; place checkout near power.
Backdrops & frames: Secure structures before hanging anything delicate.
Lighting & power: Run cables high and tidy; test every string and adapter.
Merchandising: Bring inventory last to prevent clutter and breakage.
8) Teardown without tears
Reverse the sequence. Power down and wind lights onto labeled spools before pulling frames. Keep one “dirty tote” for used ties, tape, and small hardware so nothing disappears. Photograph your packed van layout and recreate it at every event; your future self will thank you after a long day.
9) Safety, venue rules & insurance basics
Confirm venue requirements for tent weights, fire safety (UL-rated lights, no open flames), and power (approved cords, no unsafe daisy-chains). Keep a small first-aid pouch and work gloves in your “first-15” tote. If you carry business insurance, bring a copy of your COI and any venue-requested endorsements. For vehicles, follow posted loading-zone limits and never block fire lanes during setup.
Vendor load-in checklist (copy & save)
Tent, four weights, sidewalls if permitted
Tables, linens, risers, backdrop frames, grid walls, S-hooks
Signage (brand banner, menu/price boards), zip ties, bungees
Lighting: strings on spools, clamps, spare bulbs/fuses
Power: extension cord, splitter, gaffer tape, cable ties
Display props: garlands, wreaths, acrylics, mirrors, stands
Inventory: labeled totes, refill box, cashless checkout kit
Tools: multi-tool, box cutter, scissors, level, markers
Safety: gloves, first-aid pouch, rain covers, paper towels
Logistics: folding cart, hand truck, 2–4 ratchet straps, 6 blankets
Vendor FAQ
How early should I arrive for holiday event setup?
Plan to be 15–30 minutes before the official window. It reduces congestion and buys time for quick-drop unloading.
What’s the fastest way to unload?
Use the two-cart rhythm: one cart stays at the booth while the other shuttles to the van. Keep the tent, weights, and tables loaded last so they come out first.
How do I prevent décor damage in transit?
Use rigid totes with dividers, wrap frames in moving blankets, and ratchet-strap tall pieces upright against the van wall.
Bottom line: A smooth holiday event setup starts in your driveway—pack by sequence, strap tall pieces upright, and keep carts moving. You’ll set up faster, protect décor, and focus on customers instead of chaos.
0 comments
Log in to join the conversation.
Be the first to share your thoughts.